How to Build an Outdoor Patio Kitchen
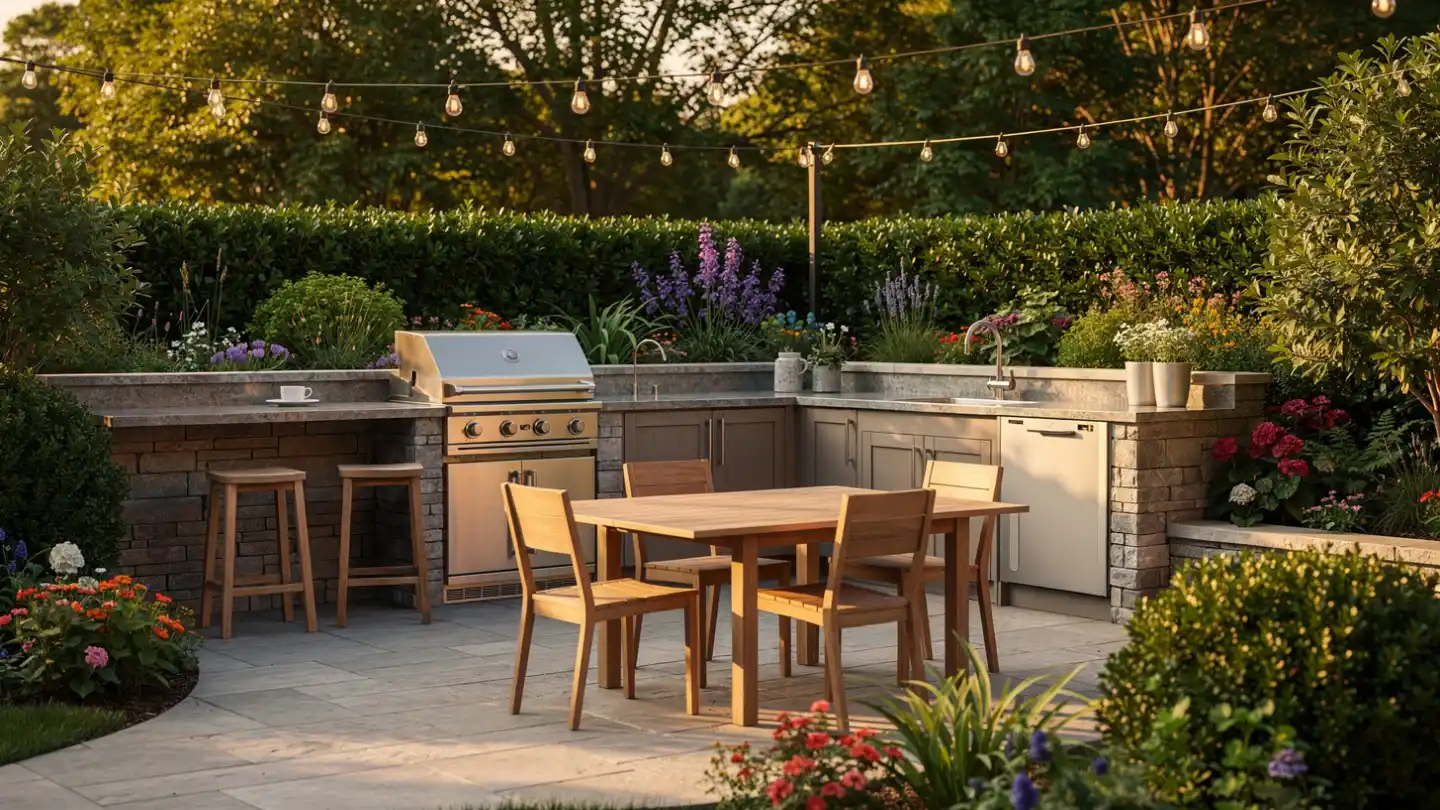
Picture stepping onto your patio and having a highly capable culinary setup right at your fingertips. You avoid the constant running back and forth to your indoor fridge while hosting friends.
Many homeowners rush blindly into outdoor builds. They often face cracked countertops, rusted appliances, or code violations within a single season. This happens because they skip the necessary planning stages.
Learning how to build an outdoor patio kitchen requires proper planning and the right materials. This guide outlines the exact phases of preparation, plumbing, framing, and material selection you need. We will show you the best outdoor kitchen materials to build a durable and highly productive space.
Every piece of advice here is based on solid facts. You will learn what works, what fails, and how to avoid expensive mistakes. Let us build a space that lasts for decades.
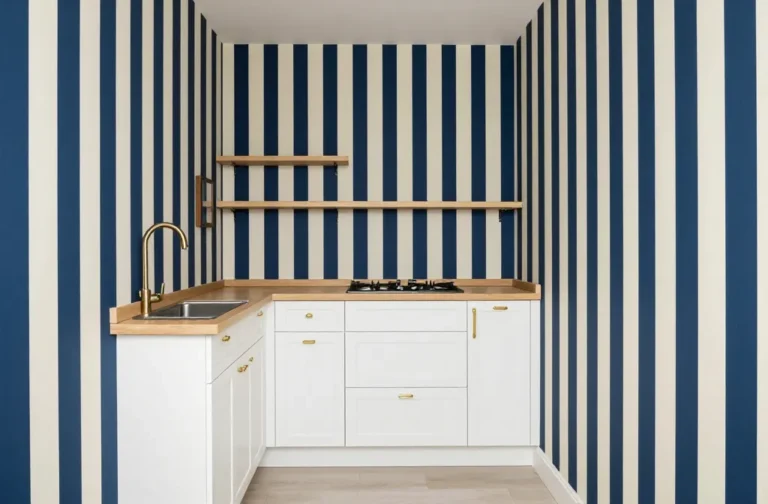
How to Plan Your DIY Outdoor Kitchen Layout
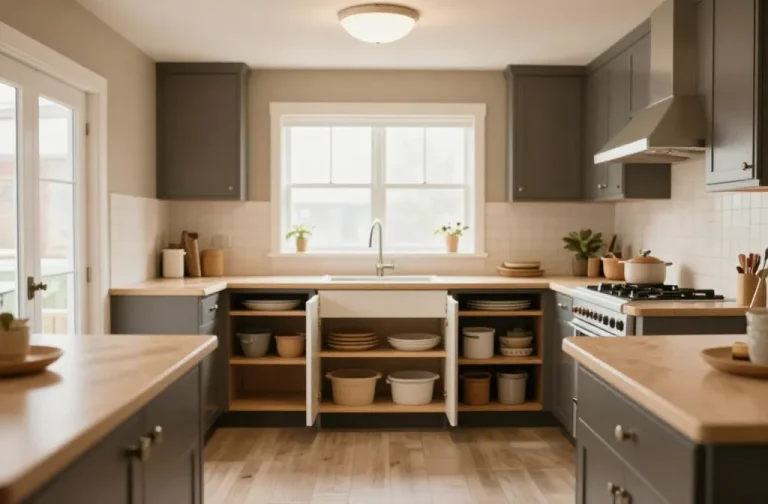
Every efficient outdoor space begins with raw physics and spatial workflow, not product catalogs. You need to know how people will move through the area.
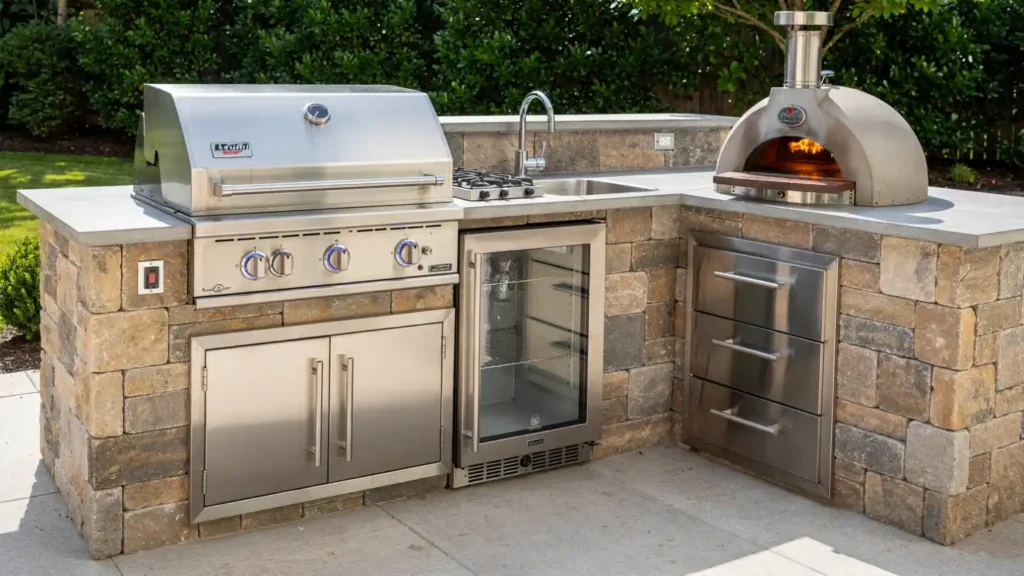
You must focus on the four critical functional zones. These include the hot zone for grilling, the cold zone for refrigeration, the wet zone for washing, and the dry zone for prep work. A good DIY outdoor kitchen layout separates these areas logically.
You do not want your hot and cold cooking zones right next to each other. Putting a hot grill next to a cold fridge forces the fridge motor to work harder. This wastes energy and reduces the lifespan of your appliance.
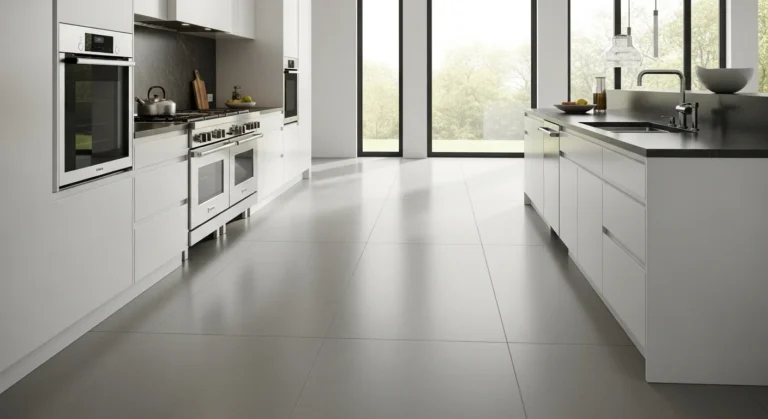
Calculate Walkway Clearances
Space is your most valuable asset. You must calculate clearance around your walkways carefully. The National Kitchen and Bath Association sets a clear guideline for this. Standard workspace prep counters require at least 36 inches of continuous linear space for optimal flow.
You need enough room for multiple people to move. Coordinate your traffic flow relative to the indoor kitchen entrance. If the path from the house to the grill is blocked, cooking becomes frustrating.
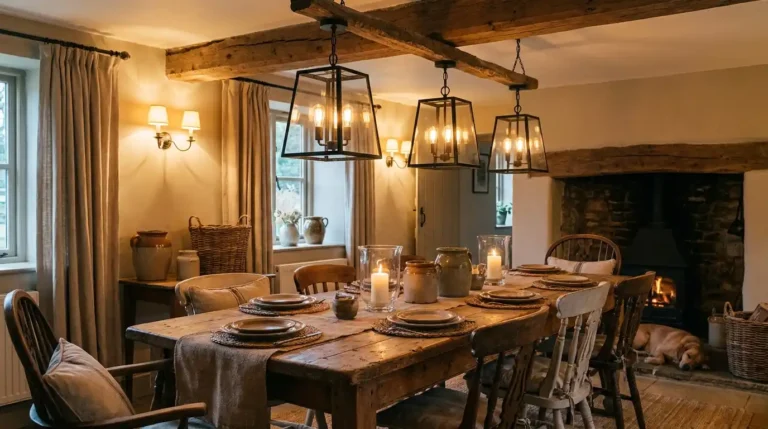
Avoid Common Layout Mistakes
Improper layout forces chefs to cross paths with active foot traffic. You want to keep guests away from the hot grill area for safety. Create a designated seating area that keeps them engaged but out of the working triangle.
Structural Trap: Never place your grill right under a low tree branch or an unprotected patio roof. This is a massive fire hazard.
Once your functional zones are pinned down on paper, you can safely talk about the financial investments required to back them up.
Budget Realities and Outdoor Kitchen Cost Appliances
Let us demystify the actual expense profile of a resilient outdoor build. You need to know exactly where your money goes.
Many people spend too much on flashy gadgets and ignore the foundation. You must distinguish between framing, stone facing, and appliance allocations. Prioritizing structural longevity over tech gimmicks saves you money in the long run.
According to 2026 industry data from Grand View Research, high durability cooking fixtures account for 42.8 percent of total outdoor build budgets. Outdoor refrigeration is also tracking a rapid 10.8 percent annual growth due to luxury demands.
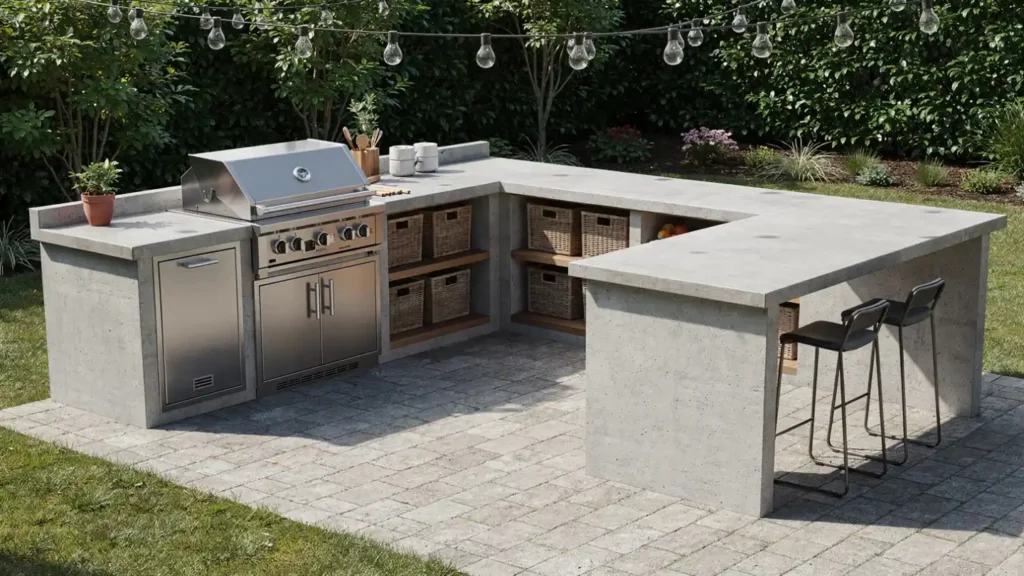
Modular Kits vs Custom Frames
You have two main choices for building the structure. You can choose modular drop in kits or custom stick built frames.
- Modular Kits: These are pre built panels that bolt together quickly. They save time but limit your design options.
- Custom Frames: These are built from scratch using metal or treated wood. They take more time but allow for any shape or size.
You need to factor in outdoor kitchen cost appliances early in the process. Your appliance selections directly dictate your framing capabilities. A heavy 40 inch built in grill requires structured and non combustible framing support. You cannot just drop a massive grill into a flimsy wood frame.
Invest in Premium Kitchen Components
Cheap appliances rust quickly outdoors. You should allocate a large part of your budget to premium kitchen components made of 304 grade stainless steel. This grade resists corrosion better than cheaper alternatives.
The global residential outdoor kitchen market reached over 26 billion dollars by 2026. This growth is driven directly by luxury single family property renovations. Homeowners want quality.
With your appliance specifications locked in, your next move is selecting the exterior shells capable of surviving nature extremes.
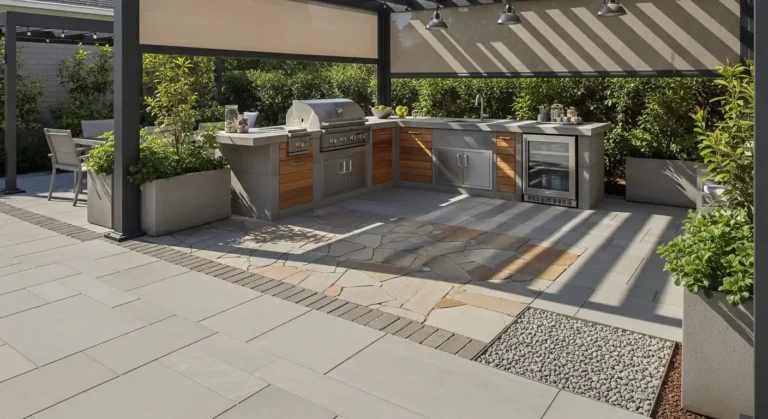
3 Steps for Selecting the Best Outdoor Kitchen Materials
Nature is incredibly unforgiving to traditional building materials. Sun, rain, and freezing temperatures will destroy weak materials fast.
You must choose materials that can handle your specific climate. The International Casual Furnishings Association reveals that over 76 percent of Millennial homeowners prioritize backyard entertainment spaces. They want these spaces to last.
Step 1: Choose Your Structural Frame
Your frame holds everything up. You can use structural steel studs or pressure treated wood. Steel studs are the superior choice. They do not rot, warp, or catch fire. Wood is cheaper but requires heavy insulation to meet safety codes around hot grills.
Bridging the choice of structural frames directly to the weight limits of heavy stone countertops is vital. A weak wood frame will bow under the weight of thick concrete.
Step 2: Select Your Countertops
Porous granite and basic tiles have a high failure rate in freezing and thawing climates. Water gets inside, freezes, and cracks the surface.
The 2026 design standard points to Natural Quartzite and concrete. Marine grade stainless steel is also excellent for modern designs. These best outdoor kitchen materials resist cracking and fading.
| Material Type | Durability Level | Best Climate |
| Natural Quartzite | Very High | All Climates |
| Concrete Slab | High | Warm or Mild |
| Basic Tile | Low | Dry and Warm |
Step 3: Pick Your Outdoor Cabinets
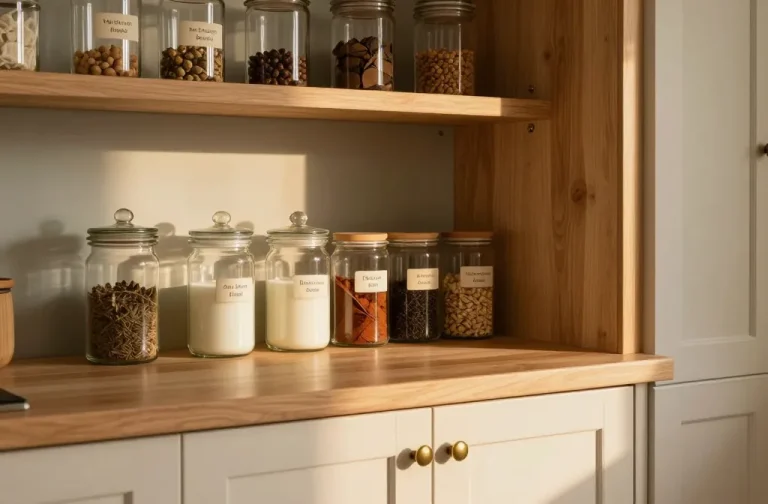
Indoor cabinets will disintegrate outside. You need weather resistant patio finishes. Your best options are High Density Polyethylene or powder coated 304 Stainless Steel.
High Density Polyethylene is a heavy duty plastic that never rots or needs painting. Powder coated stainless steel offers a sleek look while resisting rust. Both options visually mirror the indoor kitchen minimalist aesthetic. This means flat slab profiles, hidden storage, and clean lines.
Sourcing the highest grade materials means very little if your local municipality halts your project over utility code violations.
How to Manage Utilities, Codes, and Permitting
Do not cut corners on your gas, water, or electrical connections. Mistakes here are dangerous and illegal.
You must follow the safety and legal protocols of running dedicated utility lines. This involves proper planning for gas, electricity, and water drainage.
Handling Gas and Electricity
Running a dedicated gas line requires a licensed professional. You cannot use standard indoor pipes for underground outdoor runs.
Your electrical setup needs specific protections. You must use 110V or 220V GFCI electrical circuits. Ground Fault Circuit Interrupters protect you from shocks if water splashes on an outlet. All outdoor wiring must run through waterproof conduit.
Managing Water and Drainage
Outdoor sinks need a water supply line and a drainage solution. You can tap into your home water lines. Drainage is trickier.
Many local codes require gravity fed greywater drainage lines tied directly to your home sewer system. You cannot just drain sink water onto your lawn.
Structural Trap: Never bury utility lines without calling your local digging authority first. Hitting an existing power line is deadly.
Adhering to Outdoor Framing Codes
You must connect safety regulations directly to your spatial layouts. Utility drop points dictate exactly where your island structure must sit.
Standard building codes mandate a strict clearance rule. You need a minimum 10 foot clearance between an open flame built in grill and any combustible residential structure or overhead canopy. Patio kitchen utility lines must be planned around these distances.
With your permits signed and utility trenches dug, you are officially cleared to mix concrete and assemble your island.
Step by Step Construction and Assembly
The physical build transitions your project from a paper blueprint into concrete reality. Building a patio kitchen island takes hard work and precise measuring.
You will need specific tools for this phase. Have heavy duty angle grinders with diamond blades ready for cutting stone and backer board. You will also need non combustible insulation blankets if you use wood frames, along with Type 2 silicon adhesives.
Follow this sequence exactly to ensure structural outdoor masonry strength.
- Pour the Sub Base Concrete Pad: Your kitchen needs a solid foundation. Pour a reinforced concrete pad. It must be perfectly level and thick enough to support thousands of pounds. Let it cure completely.
- Anchor the Tracks and Erect Framing: Lay down your bottom metal tracks. Anchor them directly into the concrete using heavy duty masonry bolts. Erect your vertical steel studs every 16 inches.
- Clad with Cement Backer Boards: Screw thick cement backer boards onto your metal frame. Do not use regular drywall. Cement board resists water and provides a solid base for stone.
- Install Stone Veneer or Panels: Apply your mortar and stick your stone veneer to the backer board. Work from the bottom up. Ensure your corners interlock securely for a professional look.
- Drop in the Final Appliances: Slide your grill, doors, and fridge into their cutouts.
Maintain Precise Tolerances
You must measure constantly during assembly. Walk through checking the level across a 10 foot run frequently. You need to leave precise 1/4 inch tolerances for drop in heavy gauge commercial grills. If your cutout is too tight, the metal grill will expand when hot and crack your expensive countertop.
Instead of just saying use stainless steel screws, you need to know why. Regular zinc screws will rust. That rust will bleed and leave streaks of orange down your expensive masonry within six months. Always use exterior grade stainless fasteners.
Once the final silicone bead cures around your drop in grill, your layout shifts from a construction zone to your home primary entertainment asset.
Conclusion
Building a permanent patio cooking station requires careful layout mapping and solid execution. You must prioritize durable 304 grade material investments to fight the weather. Absolute adherence to utility codes keeps your home and family safe from fire or electrical hazards.
Taking shortcuts will only cost you more money next summer. Do the work right the first time.
Grab a level and your tape measure right now. Sketch your zone flow map on a piece of paper. Finalize your layout entirely before ordering your foundational appliances. Knowing exactly how to build an outdoor patio kitchen turns an overwhelming project into a highly rewarding weekend achievement.