How to Design an Outdoor Patio Kitchen Layout That Works
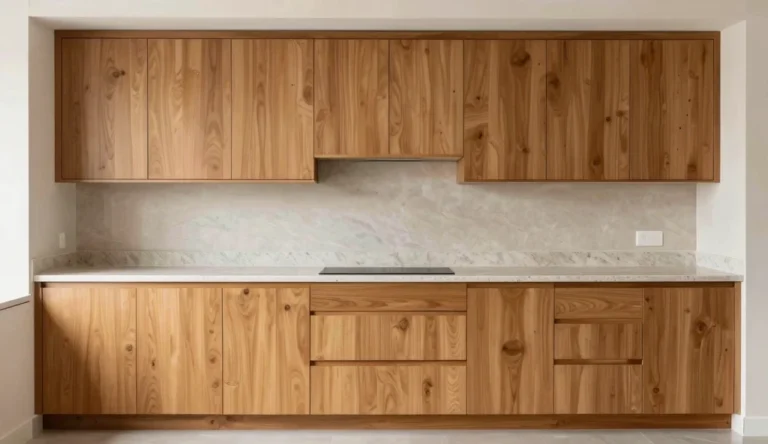
True luxury is not about dropping a premium stainless steel grill onto your patio. It is about building a functional space around it. Most homeowners focus on choosing appliances rather than planning the physical space.
This poor planning leads to cramped prep areas. Smoke blows directly into the faces of your guests. You end up making constant trips back inside for basic ingredients.
A bad layout causes permanent and expensive mistakes. You cannot easily move a gas line once the concrete sets. Good planning prevents these disasters and gives you a clean space.
This guide shows you exactly how to design an outdoor patio kitchen layout. You will learn to map your outdoor kitchen work zones. We will cover how to maintain proper patio kitchen clearance dimensions.
You will also learn to select materials made for long term outdoor exposure. You can build a space that looks like quiet luxury while working perfectly. Read on to get the exact rules you need before you buy a single brick.
Which Layout Shape Fits Your Yard Best?
Your yard size dictates your structural footprint. Start by comparing your available space to the best layout shapes. You must choose a structure that fits your daily life.
Let us look at your best layout options. The straight run patio kitchen works best for small patios. These are usually eight to ten feet long.
This layout holds a built in grill and a small fridge. You will have minimal counter space for food prep. It is simple and keeps your building costs low.
But you do lose out on large plating areas for big parties. This linear shape fits perfectly against an existing yard wall. Use this shape if you only cook for your immediate family.
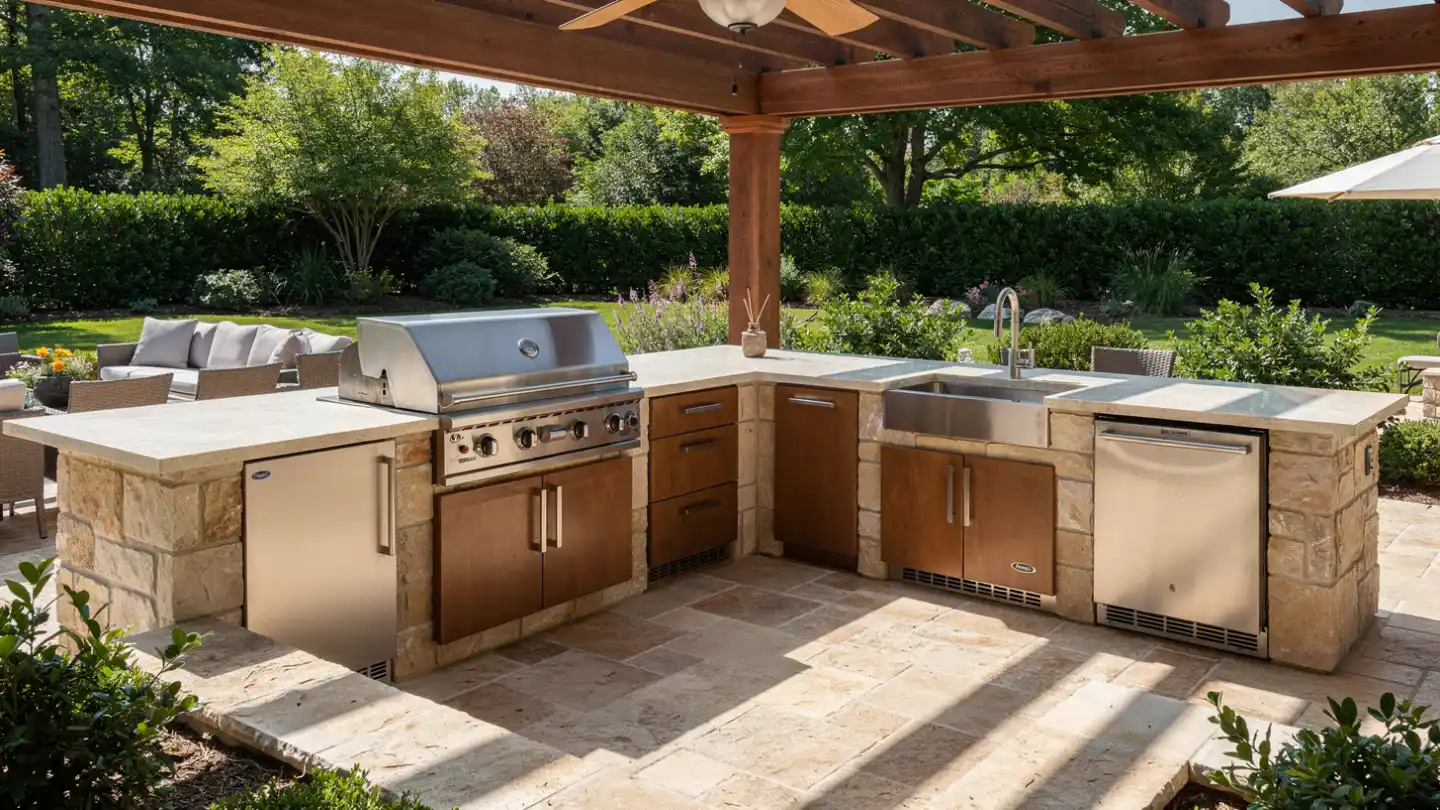
The L shape outdoor island is the gold standard for medium yards. This shape separates the hot cooking zone from the cold beverage zone. It also creates a natural corner prep station.
This corner block keeps guests out of the cooking fire. The National Kitchen and Bath Association states this layout needs a specific footprint. You need a minimum area of 10×10 feet to function well.
This generous square footage prevents crowding the cook. You get two distinct counter lines for better organization. It is the most popular choice for weekend entertainers.
The U shape setup is designed for large spaces. It offers maximum storage and handles large groups with ease. The chef works in the center while guests sit along the outer edges.
This creates a massive prep area for complex meals. You can easily fit multiple sinks and extra burners. But this shape requires a massive yard and a big budget.
Your choice of outdoor kitchen layout configurations dictates everything else. It defines exactly where your utility access points must be dug. Pick your shape before you plan your plumbing.
How to Map Your 4 Main Work Zones

An outdoor cooking space follows the same rules as a commercial restaurant. You must organize the space into specific sections. Mixing these areas up creates a frustrating and dangerous space.
Food follows a natural path during prep. It moves from storage to washing to cooking to serving. You must arrange your yard to match this exact flow.
The hot zone holds your built in gas grills and pizza ovens. This area must sit far away from cold elements. Extreme heat damages nearby cooling equipment.
The cold zone includes your compact refrigerators and ice bins. The wet zone contains sinks and trash bins. This wet area must sit right between your hot and cold zones for easy access.
The dry serve zone needs uninterrupted countertop space. You use this area for plating food and seating guests. Keep this space clear of clutter for a clean minimalist look.
Proper beverage center placement prevents a major problem called thermal bridge failure. Putting a regular refrigerator right next to a hot grill is a huge mistake. The grill heat forces the fridge compressor to work twice as hard.
This constant strain leads to fast appliance failure. Keep your hot and cold outdoor kitchen work zones completely separate. You must provide clear grill landing space to keep hot pans away from cold drinks.
What Are the Exact Spacing Rules You Need?
Layout dimensions are not stylistic choices. They are strict safety regulations for your yard. Failing to plan these clearances will result in a layout that feels cramped.
You need exact spacing for both the cook and the guests. You must leave enough space for walking and working safely. Let us look at the mandatory patio kitchen clearance dimensions.
The spacing between an outdoor island and a dining table is critical. You also need minimum counter space on both sides of your appliances. Ignoring these rules makes the space dangerous.
People will bump into the chef while they work. Hot pans will fall and cause burns. Stick to these exact measurements to keep everyone safe and comfortable.
Here are the standard industry clearances you must follow:
- Work aisles need a minimum of 42 inches for a single cook.
- Work aisles require 48 inches if two people cook at once.
- Your grill clearance requirements state you need at least 12 inches of clear counter space on one side.
- You need 24 inches of clear space on the other side of the grill.
- Bar seating needs 15 inches of knee clearance for a standard 36 inches high counter.
Your outdoor countertop depth must accommodate these numbers perfectly. Total distance between your primary zones should never exceed 26 feet. This keeps your cooking steps short and fast.
How to Prevent Fires and Protect Your Gear
Safety risks are real when building an outdoor cooking area. You must focus on gas containment and safe air flow. Trapped gas creates explosive pockets inside your stonework.
Let us fix these hidden safety risks before we look at surface finishes. Ventilation is completely mandatory for all builds. You must install vent panels in stone or stucco islands.
A standard building practice requires one venting panel every four to six feet. You also need an insulated grill jacket if you build with wood. These jackets prevent the wooden frame from catching fire.
Your backyard ventilation layout must account for the wind. Position your grill based on the wind patterns in your yard. This pulls smoke away from the dining areas so guests stay comfortable.
You also need safe outdoor kitchen utilities. Plan dedicated electrical lines with ground fault protection. Run your water lines early in the construction process.
Bridge these hidden safety parts with tough exterior materials. Use marine grade stainless steel for all cabinets. Pick solid concrete or quartz for counters.
These materials survive bad weather and look great for years. They do not fade or crack in the summer sun. Now you are ready to map it all out.
Conclusion
Designing a great cooking space requires strict planning. You must balance structural shapes with safe utility placement. You also need exact clearance measurements for comfort and safety.
Planning these details prevents expensive mistakes and keeps your yard looking sharp. Take action before you pour concrete or buy cabinets. Grab a roll of painters tape right now.
Map your exact footprint directly onto your patio. Walk through the taped area to test the physical flow of the space. This simple step reveals hidden problems instantly. Now you know exactly how to design an outdoor patio kitchen layout that works perfectly.