How to Add a Sink to Outdoor Patio Kitchen
Nothing interrupts a backyard barbecue faster than a stack of greasy rib platters. You have to haul those dirty dishes inside to your pristine indoor kitchen sink.
Homeowners want the luxury of outdoor running water. But many get paralyzed by plumbing codes and drainage logistics. They also fear winter freeze damage.
This guide delivers a clear plan on how to add a sink to outdoor patio kitchen. You will see simple hose fed setups compared to permanent plumbing connections.
We will also cover code approved outdoor kitchen sink drain options. You can master DIY outdoor kitchen plumbing with the right plan.
How to Assess Your Water Supply Lines for DIY Outdoor Kitchen Plumbing
Before you buy a sink you need to answer one crucial question. How is the water getting out here? You have a few ways to bring water to your patio.
- The Quick Connect Method: You can hook up to an exterior hose bib. This is your outdoor garden spigot. You just use an outdoor rated utility hose.
- The Permanent Connection: You can tap into the main water lines of your home. You usually route these through a crawl space or basement.
- The Hot Water Dilemma: You must decide if you want hot water. You might need a dedicated mini tank electric heater right under the counter.
Water supply line extensions usually cost between $300 and $1500. The price depends on the distance from your house. A permanent connection shifts your setup from temporary convenience to year round luxury.
You should use 1/2 inch PEX piping instead of copper. PEX piping is highly recommended for DIYers. It flexes during freezes and requires no soldering.
Once you know where your clean water is coming from you have to tackle the strict rules for wastewater. You need to figure out where that water goes when it leaves the bowl.
3 Outdoor Kitchen Sink Drain Options to Handle Wastewater
This is where most DIY projects hit a wall. You must manage the drain while following local building codes. You have three main outdoor kitchen sink drain options.
- The Bucket Method: You drain the water into a 5 gallon bucket beneath the island. This greywater system works best for simple hand washing with biodegradable soap.
- The Dry Well System: You direct water underground into a gravel filled pit. A dry well for outdoor sink setups is subject to strict local environmental rules.
- Main Sewer Line Connection: This is the gold standard for washing greasy plates. It requires a P trap to block sewer gas. You also need proper venting and a connection to the main waste stack of your home.
You must be careful with your wastewater. Dumping grease or harsh chemicals into a dry well will ruin your soil ecology. It will likely violate municipal greywater ordinances.
Always check the Uniform Plumbing Code and International Residential Code restrictions on illegal greywater discharge. Local verification is crucial. Plumbing permits for sewer connections range from $50 to $500.
With your water supply and drain strategy locked in you can pivot to the best phase. You get to pick out the physical hardware that will resist rust next season.
How to Choose a Marine Grade Stainless Steel Sink That Lasts
The outdoor environment is brutal on metals. An indoor sink will rust or pit within a year. You need materials built for salt and high humidity.
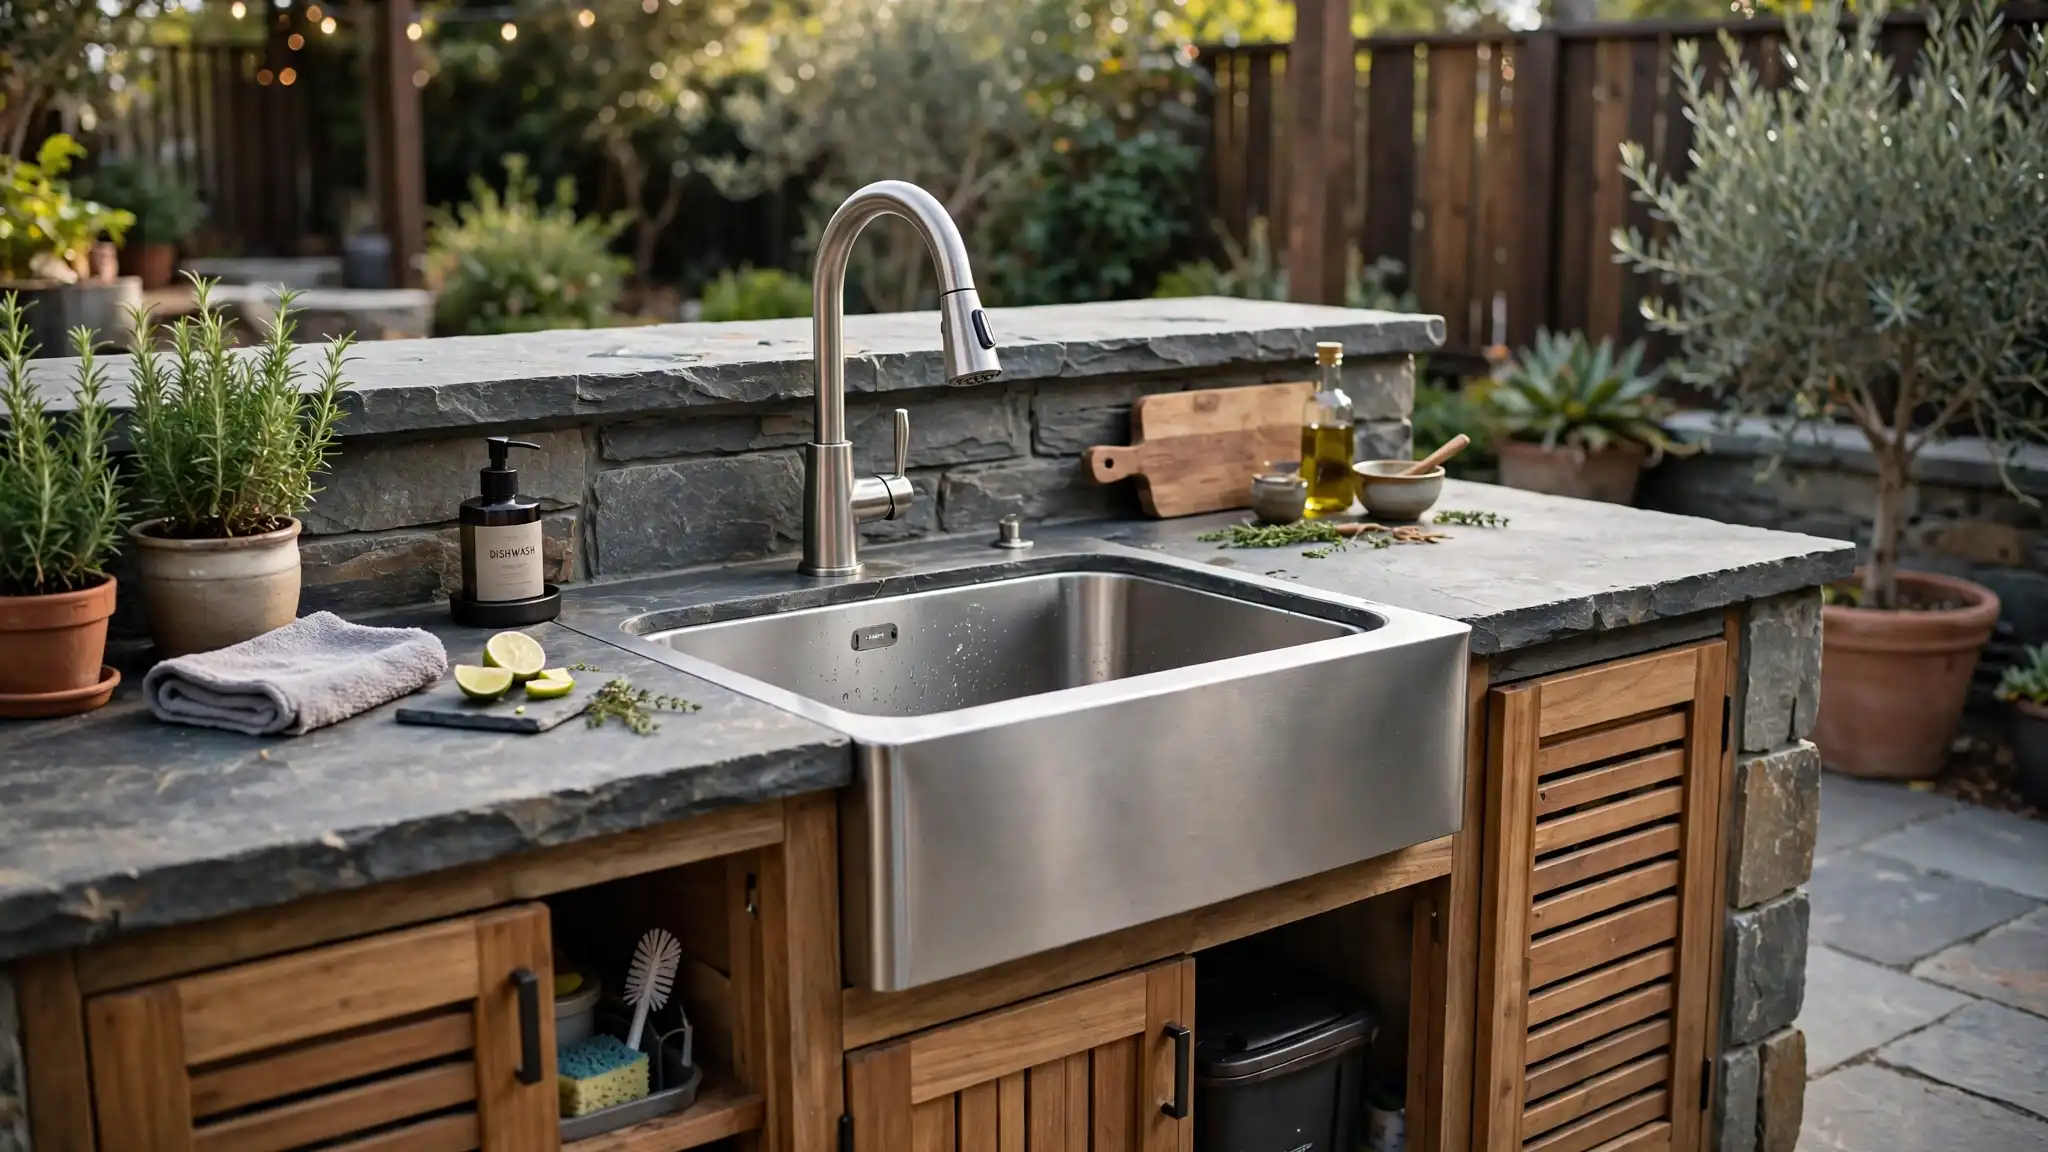
- Stainless Steel Grade: A 304 or 316 marine grade stainless steel sink is mandatory to prevent rust.
- Steel Thickness: You must look at the gauge of the steel. A lower number means a thicker wall. You want 16 gauge stainless which is 1.5 millimeters thick and resists dents. You should avoid 18 gauge steel because it is thinner at 1.2 millimeters.
- Material Traps: Avoid indoor porcelain or cheap composites. These materials crack under UV exposure and freeze thaw cycles.
Industry standards in 2026 point to specific durable models. You might look at the Ruvati Merino T 316 Marine Grade. The Kraus Kore 16 Gauge outdoor workstation sink is another great choice.
These basins usually cost between $250 and $450. Now that you have picked a durable basin let us get down to the hands on work. We will physically mount it to your island.
The 4 Step Blueprint to Install Your Drop In Bar Sink
Measure twice and cut once. There is no undo button when cutting into a stone or concrete island countertop. You must gather your tools first.
Materials Needed
- Drop in bar sink kit
- 100% silicone sealant
- P trap and drain tailpiece
- PEX tubing and fittings
- Jigsaw or angle grinder
- Cut the Countertop: Trace the template provided by the manufacturer. Leave at least a 4 foot square clearance in front of the sink for ergonomic use. Cut your granite or concrete substrate carefully.
- Drop In and Seal: Place the basin into the hole. Apply a continuous bead of 100% silicone sealant around the edge. This stops rain from leaking into the lower grill cabinets.
- Hook Up the Supply Lines: Connect your hot and cold water lines to the faucet. Tighten the fittings securely to prevent leaks.
- Assemble the Drain: Connect the drain tailpiece to the bottom of the basin. Add the P trap to block odors. Think of your drain vent like a straw. If you put your thumb over the top the liquid refuses to flow. Your sink drain needs that same air to breathe.
With your lines successfully tested and leak free you have one final task. You must protect your investment from a costly disaster.
How to Winterize Outdoor Kitchen Plumbing and Prevent Burst Pipes
If you live anywhere that sees winter temperatures drop below 32 degrees Fahrenheit this section is mandatory. Residual water in outdoor lines creates a 100% chance of burst pipes in cold climates. Freezing water expands by roughly 9% in volume.
This expansion exerts up to 114000 PSI of pressure. That pressure is enough to shatter copper and crack PEX fittings easily.
You must install a dedicated interior shut off and drain valve. Plumbers call this a stop and waste valve. You shut off the water from inside your warm house. Then you must blow out lines using compressed air before the first hard freeze.
Frost proof valves offer extra protection. Take care to winterize outdoor kitchen plumbing in November. Your outdoor kitchen will be ready to spin right back up when patio season returns in the spring.
Conclusion
Adding a sink shifts your patio kitchen from a basic grilling station to a fully autonomous cooking zone. You must choose a drainage layout that fits both your budget and local codes.
Grab your measuring tape today. Map out your nearest water access point. Choose the right drainage route before cutting into your island frame.
This plan teaches you exactly how to add a sink to outdoor patio kitchen. You now know your outdoor kitchen sink drain options to build a setup that lasts for years.